
A few days ago, some of my friends and
I were chatting about gardens. (Shocking, I know.) Specifically, I
mentioned that I need to clean up the summer garden and prepare it
for fall crops.

It's a painful process for me.
I hate tearing out any plant that's
still producing, even if emotionally I'm so, so ready to get rid of
the uglies and plant perky, happy seedlings. As vile as the vines
look, I'm not ready to give up fresh tomatoes. I've pulled a lot of
vines, but there are still a few that I'm pampering, hoping to enjoy
bruschetta through the fall.

So, instead of ripping out all of the
summer plants in August, I prepare for the fall garden by starting
seedlings in the greenhouse. Yes, it's probably less time consuming
to direct sow lettuce, but by planting seeds in biodegradable pots,
I'm extending the summer garden as long as possible while getting a
head start on growing produce.
If you're starting seedlings for your
garden, you might want to refer to this chart that I put together
last fall. It's my cheat sheet that shows when you should plant seeds
for your fall garden, depending on your first expected frost date
(which you can find here.) It also gives you hints about depth for
planting, how long until germination, and when you can expect to
harvest your crops. Some seeds, like radishes and carrots, really do
need to be direct sowed, though. Still, that's OK—radishes grow
quickly and are typically ready to harvest in 28 days. Carrots can
remain in the garden throughout most of the winter (mulched with straw in cold climates), harvesting as you need them. In
fact, the cooler soil can make the carrots taste sweeter.
Before any plants enter the fall
garden, all of the summer debris needs to be cleared—particularly
any diseased plant material. A fresh layer of compost will be added
to the beds and mixed in well, and I'll do a soil test to check pH
and determine any nutrients that are missing for the fall crops.

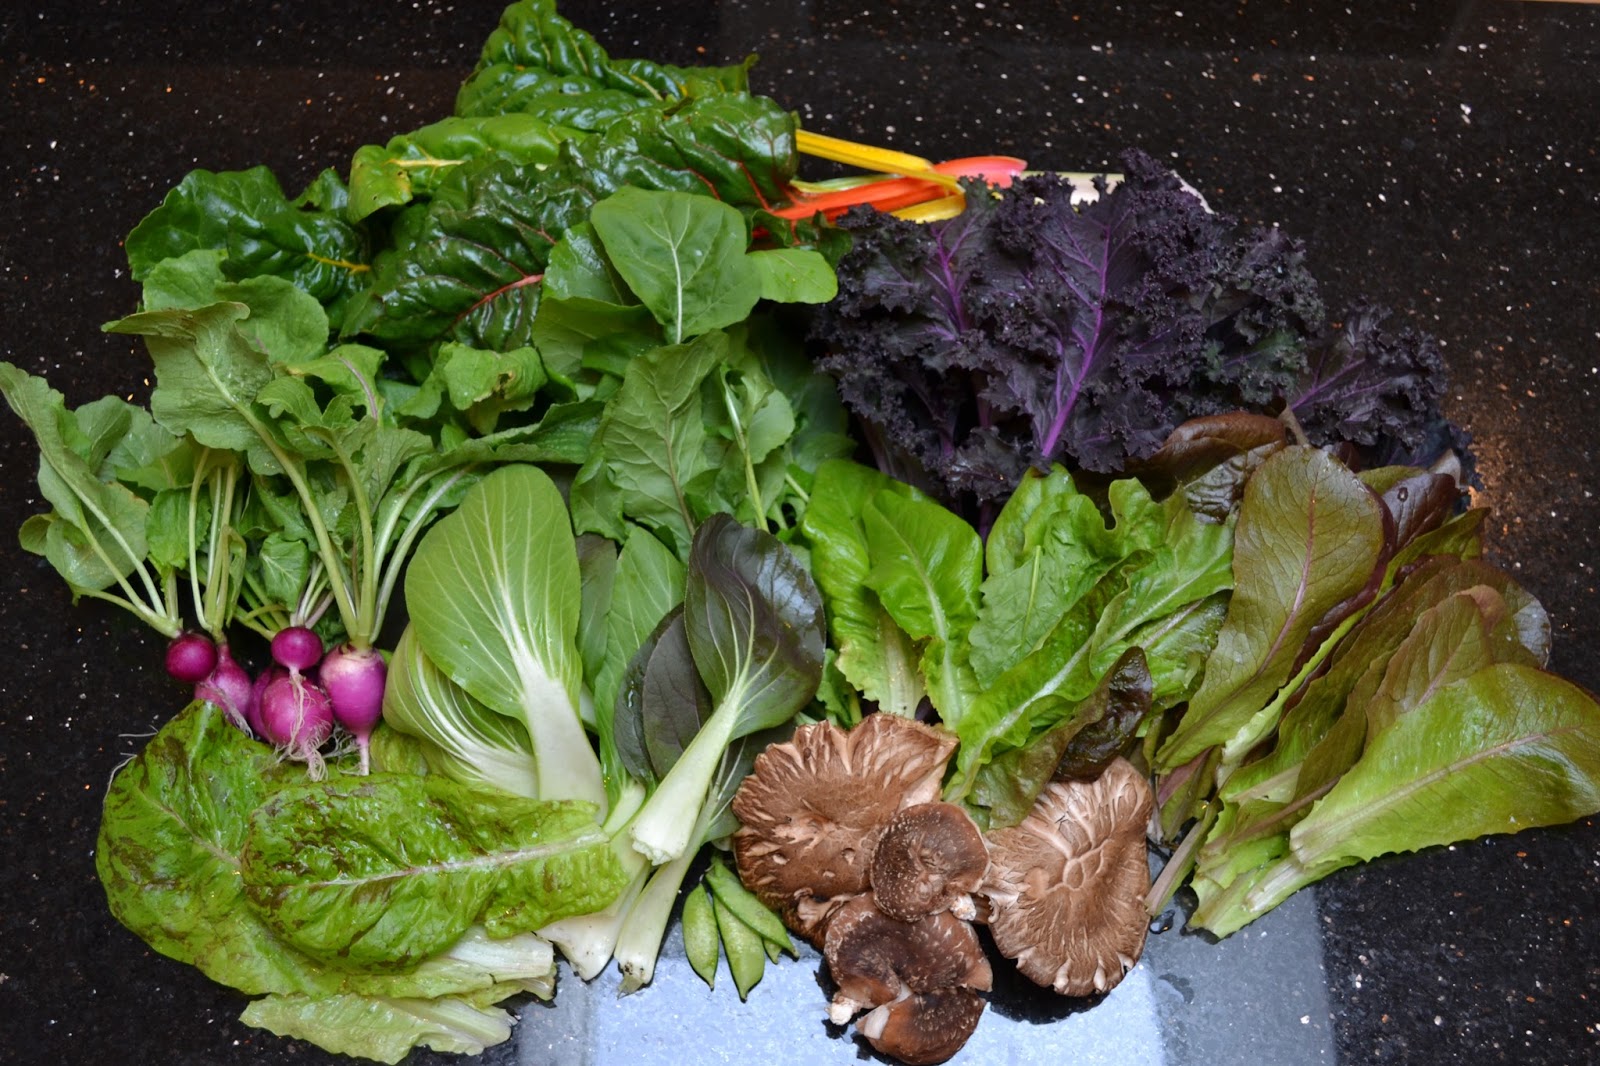
But the best part of planning the fall
garden? Why, selecting what you're going to grow, of course! My
friends asked what I planned to grow this fall, but at the time I
hadn't selected the varieties. Now, though, the seeds have arrived
and are anxiously awaiting their new home! Everything I've ordered is
heirloom and organic, and some of the varieties are just ridiculously
beautiful. Here's what's going in the fall garden:

Heirloom lettuce
Forellenschluss (My favorite—I love
its beautiful speckling, plus it's crispy and delicious.)
Grandpa Admire's (Another favorite
that's on Slow Food USA's Ark of Taste.)
Merveille des Quatre Saisons (I just
love saying the name in my high school French accent.)
Big Boston
Flame
May Queen
Petite Rouge
Red Romaine
Rouge d'Hiver
Rubin
Chadwick's Rodan

Spinach
Merlo Nero
Bloomsdale Long Standing
Red Malabar (which isn't spinach,
really...but it's a beautiful vining green with red stems, so I'm
excited to add it to the garden.)

Chinese Greens
Ching Chang Bok Choy
Chinese Pak Choy
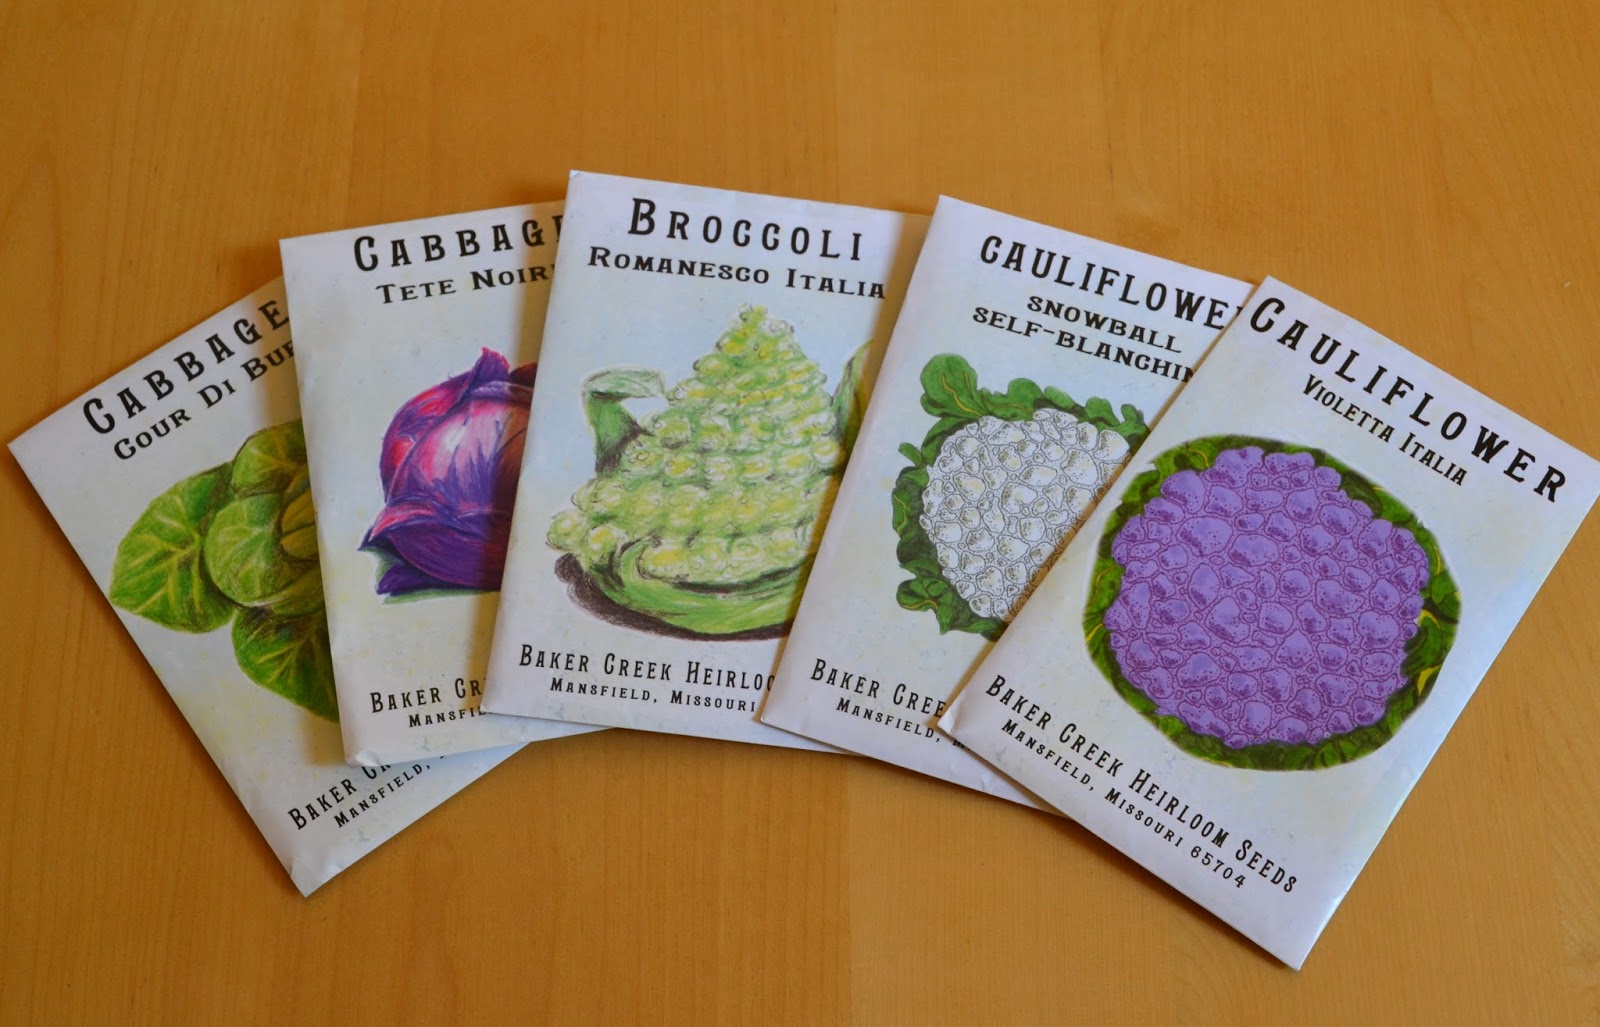
Broccoli
Romanesco Italia
Cauliflower
Violetta Italia
Snowball Self-Blanching
Cabbage
Cour di Bue
Tete Noire

Swiss Chard
Five Color Silverbeet
Kale
Lacinato
Red Russian
Chinese White Flowered

Peas
Blue Podded Blauwschokkers
Blue Podded Blauwschokkers
Golden Sweet Snow
Sugar Ann Snap

Radishes
Early Scarlet Globe
French Breakfast
Purple Plum
Pink Beauty

Beets (I'm embarrassed to
say—I've never grown beets. Can't wait to try these!)
Chioggia
Gourmet Blend

Leeks
Bleu de Solaise
Scotland

Carrots
Parisienne
St. Valery
Amarillo
Cosmic Purple
I'll also grow some Brussels sprouts
for Peter, but I'll most likely buy transplants for those. For
whatever reason, I have a tough time getting them started from seed,
and I have a source locally where I can get organic Brussels sprouts
plants.
Oddly absent from our southern
garden—collards. I know, I know—how can I be a southern gardener
without collards? For whatever reason, we just don't eat collards.
Maybe it's my Yankee upbringing coming out. Can anyone give me a good
endorsement for collards and why I should try them?
I haven't ordered my garlic and
shallots yet—and I need to do that soon. Many varieties of garlic
sell out early, so that's definitely on my to-do list. Usually, I
dedicate one raised bed to garlic and plant about five varieties. We
use a lot of garlic!
Besides planting the beds in the large
kitchen garden, I'm starting seedlings for the potager, as well as
for some containers. I'm also planning to incorporate some fall
edibles into the front gardens. Personally, I've never liked
ornamental cabbages, but I find edible combinations, like kale and
violas, or the rainbow colors of Swiss chard alone, really beautiful.
We'll see how it turns out! I'll keep you posted.

I also need to check my mini hoops from
last year to make certain the plastic isn't torn. In our zone 7b
garden, these little low tunnels (which cost a whopping $10 for
materials) provide enough protection from the cold to keep most of
our crops producing throughout the winter. I also cover the potager
with plastic when we have a freeze warning, but I already know I need
to replace that plastic cover. The fencing gouged big holes in the
plastic due to the weight of rain on the cover. (Note
to self: remove the plastic before a rain!)
With a little preplanning and preparation, we'll be enjoying lovely harvests from the garden all winter.
Have you planned your fall garden? What are you most looking forward to growing in the cool weather?
Hope you enjoy a wonderful holiday weekend!
XOXO ~
Julie


