Thursday, November 15, 2012

Barely Blooming...Garden Bloggers' Bloom Day November 2012.

Happy Garden Bloggers' Bloom Day! Finding blooms in our garden posed quite a challenge this month, as we've officially welcomed fall with not one--but two frosts in our zone 7b garden.

Still, while most of the plants sustained quite some frost damage, a few trusty blooms hid from the cold.


'Rozanne' geranium, lurking under the overgrown lantana, survived the frost and continues a profusion of cheerful blue blooms. Thank goodness for this lovely little perennial. It's disappointing in the summer, succumbing to the heat, but boy--it works hard in the fall to liven up the garden.


Most of the lantana blooms disappeared, but a few blooms remained on the lower, hidden-from-frost portion of the plants. They look tired, though, having worked hard to feed butterflies and hummingbirds all summer and fall. They deserve a rest.
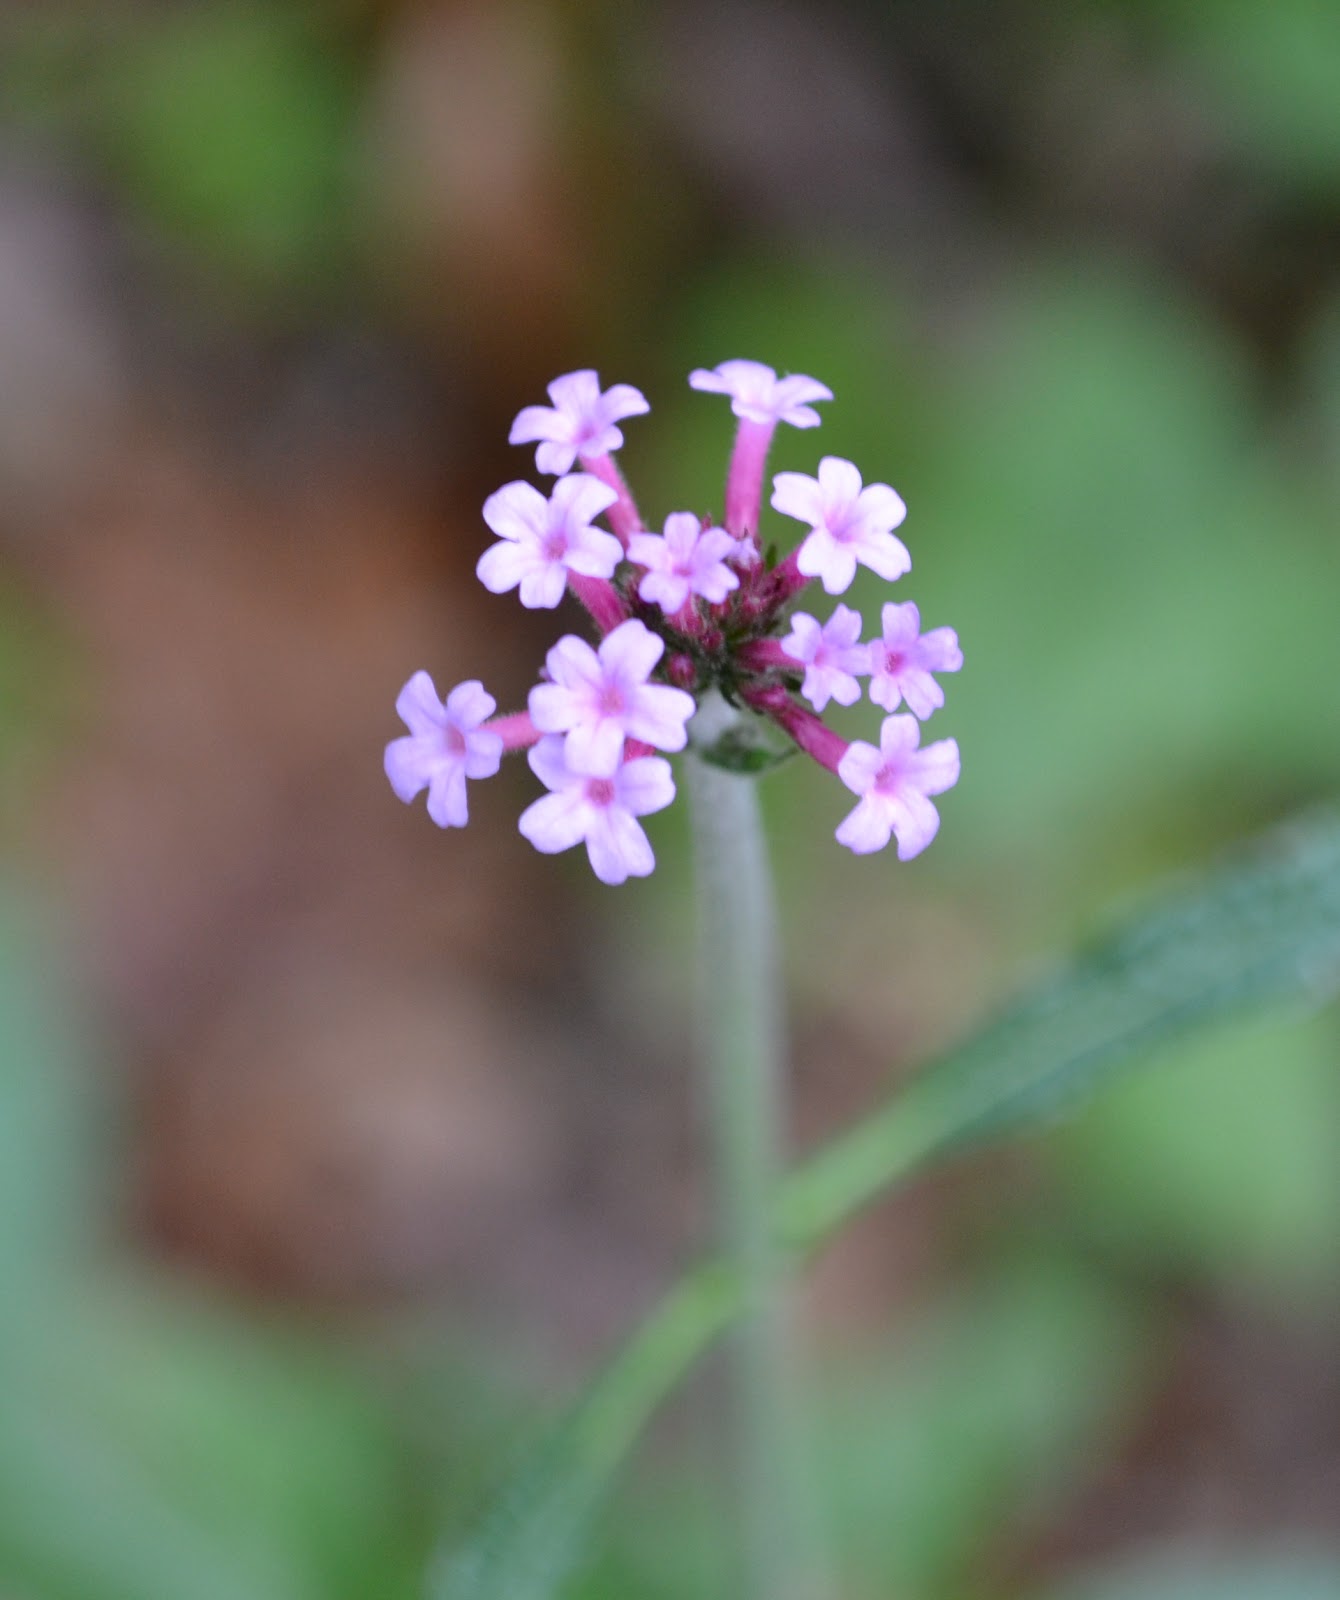

A few blooms remain on the tall verbena...


...as well as the Mexican sage. Newly planted in the garden, I'm anxious to see how the sage performs next year. So far, it's been a stunning addition to the fall garden.


Here I go again...my love affair with fraise des bois is well noted. Still blooming, still producing fruit. I won't bore you with my continued ravings...


Even a bit of gaura remains in the garden. A few whirling butterflies, ready to tuck their wings in for the season.


Ah, but the camellias...I'm becoming obsessed with camellias. Honestly, I wish I had planted dozens of camellias throughout the garden. I also wish I had noted the varieties I planted years ago. Keeping records of ornamentals was not my forté when I began gardening long ago.


A few sprigs of 'Provence' lavender fight the cold, willing one more flush of blooms. I fear they're losing this battle. 


What the heck is happening here? An azalea bloom appeared in the front garden. This is not an Encore azalea. These bushes only bloom in the spring. 

Well, usually.


Of course, the azaleas might be confused by the flush of blossoms on our daughter's cherry "birthday" tree. It blooms both spring and fall. In hindsight, I wish we had planted a normal, spring-only blooming cherry tree. Cherry blossoms in fall are just...bizarre.
 

'Blushing Bride' hydrangea looks like a tired old housewife these days...


...but the viburnum--wow! The huge, lacy blooms apparently enjoy the chill.


I'm thrilled about the newly planted witchhazel. I've been coveting it for awhile, and when I found it at a local plant sale, it followed me home. I'm so excited, I'm about to burst--just like these buds.


Now, this Encore azalea is supposed to bloom now.  Sadly, most of the blooms succumbed to frost.


The tiny blue blooms of rosemary are rare in our garden, as we don't have much sun to encourage flowering. I'm always envious of the bloom-filled, enormous rosemary bushes I see in sun-rich gardens. Still, I love rosemary regardless of its lack of prolific blooms. It's truly my favorite herb.


We've been harvesting sweet peas for a few weeks, thanks to a fall planting and some low tunnels to protect the kitchen garden from frost. With the abundant blooms, I'm hoping we'll be eating peas for quite awhile.


In the herb garden, the mint is the last bloom standing...


In the back garden by the pool, the tea olives' tiny blooms appeared.


And soon, soon, my favorite winter bloom will appear--Winter Daphne. Just a little bit longer until its sweet scent welcomes visitors at our door.


While most of the perennials only sport seed pods... 


...a few fall annuals remain. I've never been a fan of mums, but these mounds of cheerful yellow flowers found homes in wicker pumpkin shaped baskets.  


But pansies and violas will forever be some of my favorite flowers.  

As you know, I often curse our overly shady garden. But then, fall arrives...
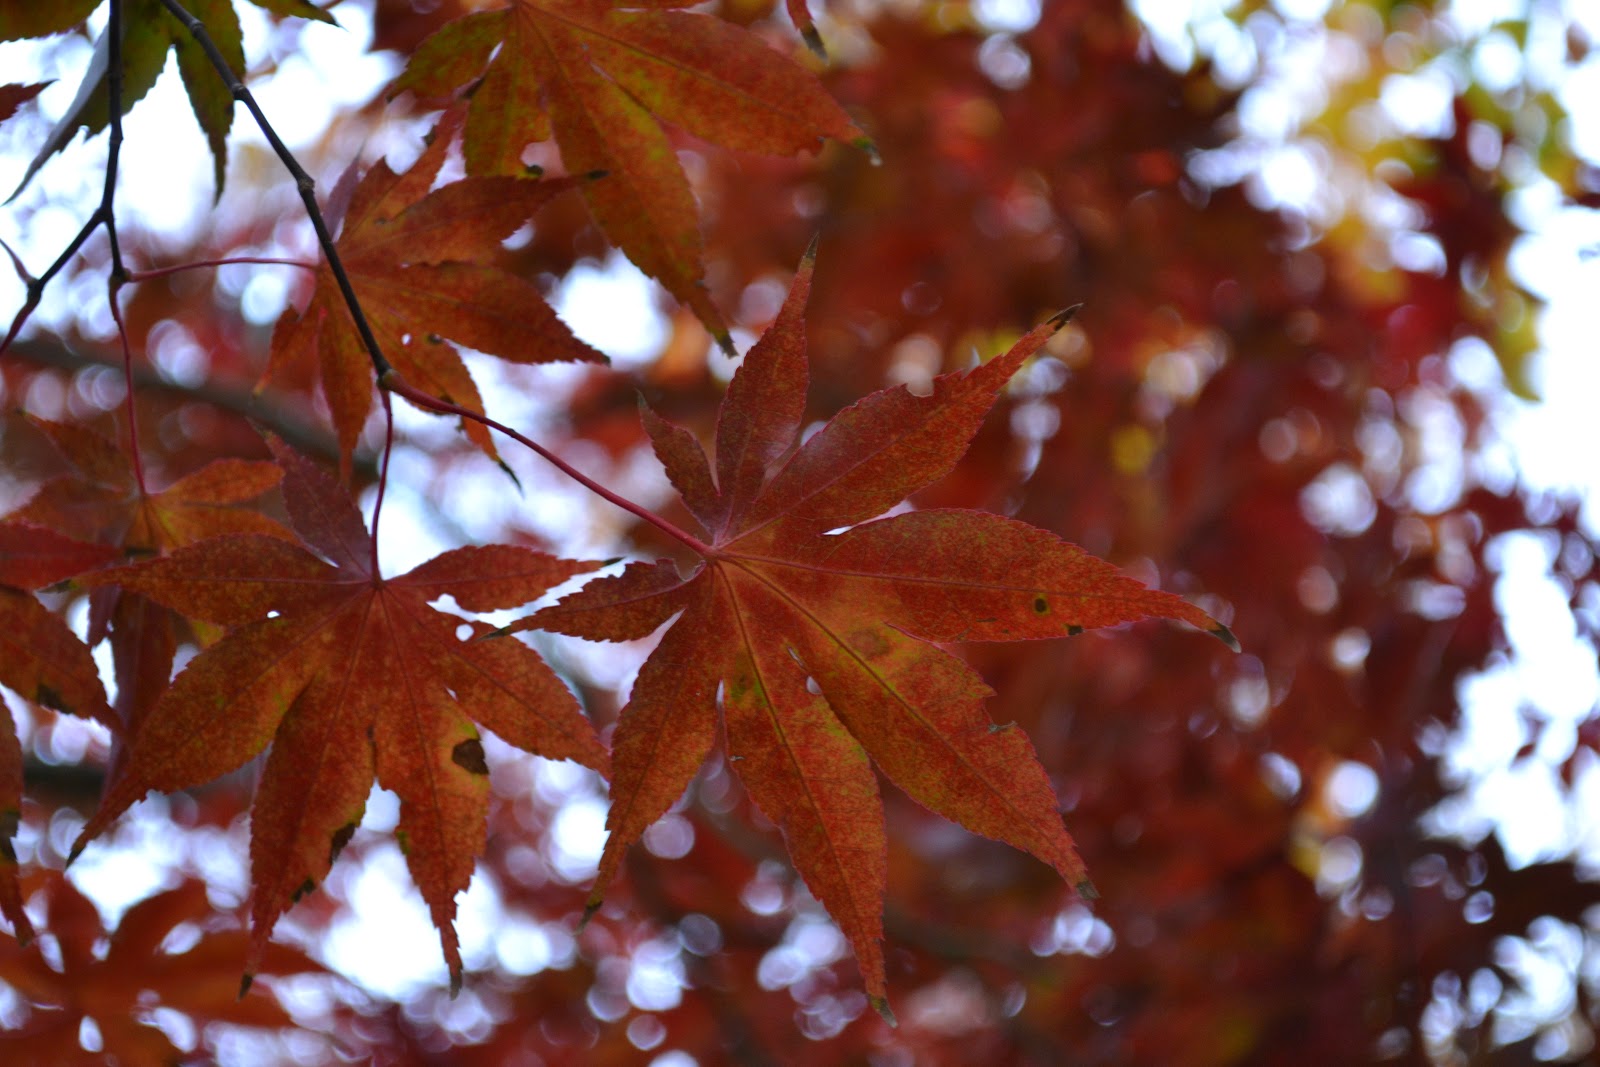


...and from every window, the intense colors of the forest remind me to be grateful for our shady gardens.


Happy Garden Bloggers' Bloom Day! To visit more autumn gardens, please visit May Dreams Gardens.

XO ~

Julie

Wednesday, November 14, 2012

Holy Shiitakes! How to Feast on Fungi for Months.


Well. The shiitake experiment proved a success.

Actually, it was too successful.

Is that possible?


Our refrigerator overflowed with shiitakes. Bags and bags of shiitakes.

With only two of us that eat mushrooms, I feared that my harvest would soon end up in the compost. Peter and I just can't eat three, gallon-sized bags filled with mushrooms that quickly. But after awaiting these babies for more than a year, I refused to trash my prize.

It was time to take action.

Dehydrating mushrooms is ridiculously easy. If you have a dehydrator, it's even easier—because you can plug it in outside and avoid the stench that will permeate your house. I thought the smell of hot peppers dehydrating in the oven was bad...it was nothing compared to shiitakes.

With dried shiitakes selling for more than $18/lb., though, the odor is worth it.

How to Dry Shiitakes:
  1. If you have a dehydrating setting on your oven, use it. Otherwise, preheat oven to the lowest setting possible.
  2. Rinse mushrooms under cool water, making sure to clean between the gills where insects might lurk. Fortunately, our mushrooms were clean. However, if you find gnats or other insects, you can soak the mushrooms in a high saline solution to kill any critters, then rinse again. Pat dry.
  3. Remove stems from the shiitakes. The stems are fibrous and tough. You can reserve them to add flavor in soups, if you like—but you really don't want to eat them.

  4. Slice mushrooms thinly to speed drying. You can also dry them whole, but expect the process to take much longer for complete drying.

  5. Spread sliced mushrooms into a single layer on a cookie sheet. If you are using whole mushrooms, place the mushroom gill-side up.
  6. Place mushrooms in oven. If you have a convection oven, you can leave the door closed. Otherwise, crack open the door a bit for air circulation.
  7. Using the dehydrating setting, it took approximately 12 hours for the mushrooms to dry completely. Check your mushrooms hourly to ensure that they are drying properly and not burning.
  8. When completely dry, the mushrooms will be tough and the gills hard, not spongy. Allow to cool completely before storing.

You can store the dried mushrooms for six months in a dark, cool place, or you can freeze the dried mushrooms for a year. I chose to fill canning jars that I stored in our pantry.


Drying shiitakes adds convenience to recipes—you'll always have mushrooms on hand when a risotto craving hits. To rehydrate the mushrooms, soak the dried shiitakes in boiling water for 20 minutes or warm water for 30 minutes. Many people use the resulting liquid as a healthy tea. Dehydrated shiitakes can also be added directly to the base when making soup.

While we focus on the culinary benefits of shiitakes, the Ming Dynasty considered them to be the “elixir of life,” reserved as royal food. Shiitakes were also used medicinally to cure various ailments, including colds, flu, headaches, measles, and nutritional deficiencies, among other illnesses.

Today, many people believe that shiitakes strengthen the immune system, provide a high dose of antioxidants, lower cholesterol and high blood pressure, as well as fight cancer, heart disease, AIDS, herpes, and other viral infections. Dried, powdered shiitakes are often used as supplements—but always consult a health practitioner before using.

Personally, I'm hoping to derive the health benefits of shiitakes by eat risotto...lots and lots of shiitake risotto.

Mmmmm...

In case you've been playing along and have your own harvest of shiitakes—or any mushrooms, for that matter, here's my favorite recipe for risotto.

Risotto ai Funghi

Ingredients:
6 cups organic chicken broth, divided
3 tablespoons olive oil, divided
2 pounds shiitake mushrooms, fresh or dried (rehydrate prior to use)
2 shallots, diced
1-1/2 cups Arborio rice
¾ cups dry white wine
freshly ground pepper to taste
sea salt to taste
3 tablespoons chopped chives
4 tablespoons butter
½ cup freshly grated Parmesan cheese
Note: Make sure to have all ingredients ready before you start. You need to stir continuously to avoid burning, so you don't want to hunt down ingredients in the midst of cooking.
  1. Warm the broth over medium-low heat in a saucepan.
  2. In a large saucepan over medium-high heat, warm 2 tablespoons olive oil. Add the mushrooms (fresh or rehydrated) and cook until soft, approximately 3 minutes. Remove mushrooms and liquid, and set aside in bowl.
  3. Warm 1 tablespoon olive oil in a skillet, and add the shallots. Cook 1 minute, stirring frequently. Add rice, stirring to coat it with the olive oil. When the rice is golden in color (about 2 minutes), add wine. Stir continuously until wine is absorbed. And ½ cup broth to the rice, stirring until broth is absorbed. Continue adding ½ cup broth at a time, stirring continuously, until liquid is absorbed and rice is al dente, approximately 15 to 20 minutes.
  4. Remove skillet from heat. Add mushrooms with liquid, butter, chives, and Parmesan, stirring well. Season with salt and pepper to taste.
  5. Serve alone or as a side dish. Makes approximately 6 servings.
Enjoy!


XO ~


Julie


Tuesday, November 13, 2012

The (less than) $10, 5-minute Low Tunnel. Really!


Most of the time, I love living in South Carolina. Smiling Faces, Beautiful Places—it's a fairly apt slogan for our state. Of course, though, some of those smiling faces continue to fly the Confederate flag while circulating petitions to secede from the United States.

(News flash: that war is over, people.)


Still, while that kind of nonsense evokes my weekly rants and increased blood pressure, South Carolina's benefits outweigh the negatives. In less than an hour, we're in the mountains, hiking. In three hours, our toes squish in the sand of Isle of Palms. 

And of course, with our mild climate, I garden all winter...with a little effort.


Zone 7b, where we live, typically experiences the first frost around October 31. This year, we bought a little extra time, with our first frost making an appearance last week.

I was ready.

A little wire, a little plastic, some office supplies, and voila—instant low tunnels to protect the fall and winter crops.

Cost: less than $10. Time: 5 minutes.

Honestly, even the laziest of gardener (me) can't argue with the return on that investment. Eating heirloom lettuce, bok choy, kale, Swiss chard, cabbage and sweet peas from the garden all winter?

Yes, please.


Here's what you'll need to create your own mini tunnel:
  1. One heavy weight, clear, plastic drop cloth, found in the painting supply section of your hardware store. Our raised beds are 4' x 10', so I purchased the 9' x 12' drop cloth, 2 mil thickness. Cost: $2.98
  2. Two 10' masonry ladders. You'll find these in the concrete section of the big box stores. They may also be referred to as steel remesh, but the product you want actually looks like a small wire ladder. Ask the nice person at the store to cut the ladders in half so you'll have four, 5' ladders. Cost: $3.98
  3. One box of large binder clips, 12 count. Cost: $2.99
Directions:

Beginning at the front of the raised bed or garden row, insert one end of the wire ladder into the soil several inches. Support the ladder as you bend it over the top of the bed so that it forms an arch, and insert the opposite end into the soil.


Repeat at equal intervals, with the last ladder placed at the end of the bed/row. You should have 4 small arches spaced equally in the bed.


Remove plastic cover from bag and unfold. Spread plastic over the supporting ladders, covering entire bed/row.


Use binder clips to attach plastic to ladder supports at the bottom of each ladder, near the soil line, to ensure that the bed or row is completely covered and plastic is secured.

Ta da! You're done!


And now, a...

WARNING:
Watch the temperature! It's not unusual for a frost to be followed by a 70 degree day in our garden. Make sure to remove the cover if you expect a warm day with temperatures in the 50s or above. You don't want to cook your veggies until you WANT to cook your veggies. Preferably not under plastic.


The best part of the system is that it's so easy to uncover—just unclip one side of the plastic, fold it over to the ground on the opposite side of the bed, and secure it with the clips to the ladder to prevent it from blowing in the wind. When frost threatens, cover the garden.

I love easy.

Now, if only I could find an easy way to ensure that South Carolina doesn't secede from the United States...

I'll keep you posted.

Until then, enjoy your extended harvests!

XO ~

Julie

Monday, November 5, 2012

Shiitake Love.


Well. I'm alive.

Seriously, for a moment yesterday, I worried that we might orphan our children.

Instead, I'm relishing my bravery, high-fiving my hubby, and generally feeling like I've earned an extra gardening merit badge.

We ate homegrown mushrooms. And they were scrumptious.

Remember a few weeks ago? Yep, I thought my shiitake experiment resulted in a waste of time and money. With those first little mushrooms, we just weren't brave enough to give them a try. I trusted our source for the plugs—Mushroom Mountain is phenomenal. But because these logs aren't in a sterile environment, we've also seen other mushrooms showing up uninvited. And those mushroom invaders made me nervous.

But then, almost overnight, this happened:


A slew of shiitakes, exploding from the logs. And they looked like shiitakes—clusters of lovely brown capped deliciousness.


I just couldn't waste them.


Still skeptical, Peter suggested that I send a photo to Mushroom Mountain—just for a confirmation. I'm sure poor Tradd and Olga probably wish they never sold the plugs to this high maintenance mushroom grower wanna-be. Still, they kindly confirmed that the mushrooms were “beautiful” shiitakes, and to go ahead and eat them.

YEEES!

The funny thing is—I'm not a huge mushroom fan. Ironic, isn't it? In fact, whenever we eat out, Peter is the recipient of any mushrooms that sneak into my meal. For me, I grew shiitakes to up my gardening ante—embracing the challenge of growing something new, adding a unique crop to my resumé. Plus, Peter loves mushrooms. 
 

Now, with three, gallon-sized bags of shiitakes, I've decided it's time for mushroom love. We'll be eating a lot of shiitakes in the next week or two, and I need to stop behaving like a 7-year-old who doesn't want to try new things.

One of those per family is enough.

While I research recipes, though, I decided to go with an tried-and-true meal for our first homegrown shiitakes. Shiitake, Swiss chard, and bacon quiche.

I didn't plan to include bacon, because the shiitakes are savory enough alone. Sadly, though, a friend mentioned bacon—and then I couldn't resist my bacon craving. Bacon, after all, ended my three month trial of vegetarianism. One whiff of bacon frying—and it was all over.

Willpower fail.

There's something amazingly satisfying when you cook a meal composed of ingredients from your garden. Rainbow Swiss chard is both delicious and beautiful, plus the voles haven't decimated it yet like they've brutalized the bok choy. The eggs--only hours old, with rich, vibrant orange yolks. The shiitakes—well, they're the whole point of the quiche, after all. Funky looking and earthy, they emanated a warm, forest aroma. I don't think I've ever smelled anything like it from grocery store mushrooms. 

Of course, I cheated with the pie crust. A packaged pie crust makes me seems like a charlatan. But, in my defense, they are awfully good, and I'm always short on time.
Feel free to make your own crust. (I promise, I will learn to make pie crust this year. I will, I will.)

Shiitake, Bacon, and Swiss Chard Quiche
Ingredients:
½ lb. bacon, cut into 1-inch pieces
1 cup leek, chopped finely
3 cloves garlic, minced
4 cups Rainbow Swiss chard, chopped
3 cups shiitake mushrooms, 1/4-inch slices (If using large shiitakes, first cut in half, then slice)
½ cup Parmesan cheese, grated and divided
¼ cup mozzarella cheese, shredded
1 9-inch pie crust, prepackaged or homemade
3 large eggs
½ cup milk
1 tsp. sea salt
½ tsp. pepper

  1. Preheat oven to 350 degrees.
  2. Fry bacon until crispy. Remove bacon from skillet, leaving the drippings.
  3. Add leek and garlic to hot skillet. Cook until soft, approximately 4-5 minutes.
  4. Add shiitake mushrooms, Swiss chard, and bacon to leek and garlic in skillet. Cook until mushrooms and chard are soft, approximately 5 minutes.
  5. Add ¼ cup Parmesan and ¼ cup mozzarella cheese to mixture in skillet. Mix into vegetables and bacon until the cheese begins to melt.
  6. Remove skillet from heat.
  7. Place pie crust into pie pan, fluting the edges.
  8. Spoon vegetable/bacon/cheese mixture into pie crust, distributing evenly.
  9. In mixing bowl, beat eggs, milk, salt and pepper.
  10. Pour egg mixture over vegetables/bacon filling in pie crust.
  11. Place quiche in oven. Bake for 10 minutes.
  12. After 10 minutes, remove from oven and evenly sprinkle remaining ¼ cup Parmesan cheese over the top of the quiche. Return to oven and bake for another 10 minutes.
  13. Place foil on top of quiche to prevent crust burning, and return to oven for a final 10 minutes or until quiche sets. Remove from oven, and insert toothpick into center of quiche to check doneness.
  14. Let quiche stand for 5 minutes prior to serving.
  15. Do not serve your husband/wife/significant other first, particularly if they don't see a plate in your hand with your own portion. They might become worried.
  16. Reassure significant other that you, too, are eating the quiche. Take a healthy bite to assuage their fears.
  17. After eating, check your vital signs periodically to ensure you really harvested edible mushrooms.
  18. Do the happy dance when, after 7 hours, everyone is well.
  19. Start looking for more shiitake recipes.
  20. Realize that hubby will no longer receive my mushrooms when dining out, because-- who knew?—mushrooms are pretty yummy.

Because our mushrooms grow on very large logs, we should be well supplied for years. The logs require a period of rest before repeat fruiting, which is fine—we have plenty of shiitakes for awhile. Plus, shiitakes can be frozen or dehydrated for storage.

Now, I need your help...please! What's your favorite mushroom recipe? I still have two and a half bags of mushrooms in the refrigerator, plus more to come. Risotto will definitely be in the lineup, but I'd love to know your favorite ways to use mushrooms.

And, if you're interested in growing your own mushrooms, please visit Mushroom Mountain. Not only are Tradd and Olga brilliant, they also offer great information and everything you need to grow your own mushrooms.

Who knows? Now that our shiitake experiment succeeded, maybe I'll sign up for wild mushroom foraging with Mushroom Mountain.

Or maybe I'll rest on my laurels and stick with the shiitakes.

Cheers!

XO ~

Julie