Friday, January 11, 2013

Kale Fail.


Our winter gardens amaze me—lush chard, spicy arugula, colorful radishes—all thanks to our simple homemade low tunnels. Granted, the lettuce is a little limp right now due to some extremely cold nights, but the rest of the garden is right on track.

And the kale is a show stopper.

Isn't it pretty?

Like most mothers, I'm constantly battling our children's taste buds. I try to feed them healthfully—we obviously grow enough organic produce to ensure their nutrition—but actually getting the food down their throats is another matter.

Admittedly, I grew up as the world's pickiest eater. As the fourth of four children—and a surprise addition--my parents never forced me to eat my peas. Or carrots. Mom and Dad were too tired to sit at the dinner table with me until 9 p.m., as they often did with my siblings (or so I've been told.)

So, although I'm determined to get the kids to eat more veggies, I'm also a realist. I look for ways to trick them into eating veggies.

Like kale chips.

Salty, oily, crunchy—it's the perfect snack alternative to Pringles.

Right?

Plus, if kids help grow the produce, they're more likely to eat it.

It's true. I've seen it.

(Just not, necessarily, with our children.)

So if you, like me, resolved on January 1 to feed your children—or yourself—more veggies, adding kale to your garden and your menu is simple.

Grow.
Kale is a cool season crop whose flavor improves when exposed to frost. It's a hardy biennial, meaning that it takes two years to flower and complete its life-cycle. Most of us, though, grow kale as an annual. In our zone 7b garden, it thrives throughout the winter.

Kale prefers loamy, well-drained, moist (but not soggy) soil of average fertility, with a pH of 5.5 to 6.8.

Plant kale in early spring, four weeks before the last frost, in full sun. You can also plant kale in partial shade in hot climates. In mild climates, kale can be grown year-round. I planted ours in October.

Space plants six inches apart. Side dress throughout growing season with organic liquid fertilizer, such as fish emulsion. Keep kale evenly watered.

Kale flourishes with companion plants such as beets, celery, herbs, onions and potatoes, but it does not enjoy beans, strawberries or tomatoes. Aromatic plants, like chamomile, mint, oregano, rosemary, sage, thyme, and wormwood, repel cabbage fly and cabbage worm. (Note: mint can be invasive and take over your garden! Plant in pots near the kale to help prevent unruliness and keep pests away.)

If you'd rather grow kale from seed, start the seeds five to seven weeks before the last expected frost. If you’re direct sowing, plant the seeds outside two to four weeks before the last frost in spring or anytime at least 10 weeks before the first frost in fall. Whichever season you choose, the soil temperature must be at least 40 degrees or higher for good germination. Kale germinates best in soil that is approximately 70 degrees.

Harvest.
Begin harvesting kale approximately eight weeks after sowing. Small, tender leaves are great for salads. For cooking, harvest six-inch outer leaves, leaving the center leaves to continue growing.

Hot weather produces bitter, tough kale. You don't want to use this fresh--instead, you can add it to dishes and soups, cut into small pieces. 


Eat.
Kale can be braised, sautéed, or eaten raw. It's also delicious in soups. I may try kale potato soup next. I think I saw a recipe in one of my Alice Waters cookbooks. Hmmm.

Kale chips are extremely easy to prepare. The most time-consuming task is washing and drying the kale.

Kale Chips
Ingredients:
10 large kale leaves, washed and completely dried.
Extra Virgin Olive Oil
Sea salt
  1. Preheat oven to 300 degrees.
  2. Wash kale leaves, drying completely. I used both a salad spinner and paper towels to dry the kale. Make certain that the kale is thoroughly dry, because any remaining moisture will produce steam in the oven, resulting in limp kale chips.
  3. Tear kale into bite-size pieces. Remove the tough stem.
  4. Place kale in single layer on a baking sheet.
  5. Drizzle extra virgin olive oil over the kale. Massage the oil into the kale with your fingers to thoroughly coat the leaves.
  6. Sprinkle sea salt over kale. You can experiment with other spices, like garlic salt, cumin, or red pepper flakes, but I needed to keep it basic for my kiddos' palates.
  7. Place in oven and bake for 15 minutes or until crispy.
  8. Cool and serve.

The crispy, curly edges of the kale literally melted in my mouth.

While I liked the kale chips, the big test awaited the arrival of the school bus.


(I didn't get a photo of Mikey trying his kale chip. This was his reaction when I asked him to try it one more time.)

Kale fail.

Honestly, what am I going to do with these children?

Ideas? Suggestions?

Do you--or your kids--eat kale chips? Do you force feed your loved ones veggies, or do you hide them in things like chocolate brownies? 

Please...do share.

Back to the drawing board...and garden. There must be something besides cucumbers and corn that these kids will eat.

Happy Friday!

XO ~

Julie, the highly frustrated organic veggie grower


Friday, January 4, 2013

New Year's Resolution: You Can Grow That!


The weather outside is frightful, but I'll admit it—I'm spoiled. As a former northern girl, I'm in garden bliss living in zone 7b. In our little piece of garden paradise, Upstate South Carolina's moderate winters allows us obsessive garden types the opportunity to grow year around. With only a minimal investment of time and money, simple low tunnels keep us in produce all winter long. (See here.)

I've always planted fall crops of lettuce, Swiss chard, and spinach, but this is the first year I have three full raised beds crowded with cool weather crops, as well as a potager filled with deliciousness. Along with my tried and true crops, I added cauliflower to the mix.

Isn't it so pretty?

I hesitated to grow cauliflower. I heard stories that it's temperamental. Challenging. Bug infused. High maintenance.

But then, in the throes of garden center delirium, I purchased a few transplants.
  
And tonight, Peter and I feasted on homegrown cauliflower.

Isn't it amazingly satisfying to eat from your yard?

(Of course, Mikey believes we're trying to poison him after we insisted he eat one floret. I'm currently enjoying a glass of Beaujolais Nouveau as my rewarding for sitting at the dinner table for 30 minutes while he fussed and choked on the single piece of cauliflower. Yeesh.)

So, before you listen to the naysayers who tell you that you'll spend hours every day defending your cauliflower transplants from cabbage worms, let me assure you—you can grow cauliflower.

Here's how:

Grow.
Cauliflower is a member of the Brassica family and grows best in a rich, well-drained soil. Keep pH at 5.8 to 6.5. This cool season vegetable prefers averages temperatures of 60 to 65 degrees. Plant early enough in the season to harvest before temperatures become too hot, or in my case—plant in the fall if your winter is mild or you can install low tunnels to protect the plant from freezing.

Space cauliflower in rows that are three feet apart and 18 inches between plants to allow for adequate growth. Water deeply—light watering will encourage shallow root development. Keep consistently moist.

Cauliflower is a heavy feeder, and nitrogen is important for the plant to produce a good crop.

To ensure the visual appeal of your cauliflower, it's best to shade the heads (called “blanching”) so that they don't become discolored. Some leaves may naturally grow over the forming head to provide shade from too much direct sunlight (which can also make the cauliflower taste bitter). However, a bit of gardener assistance is easy to provide. Gather outer leaves of the plant to join over the top of the head, then clip with a clothespin. After a strong rain, though, unclip so that water isn't standing on the head, which can cause rot. Allow to dry out, then cover the head again. A bit of discoloration typically doesn't affect taste, but too much heat and direct sunlight can affect taste.


Cauliflower grown in the fall garden tends to require less attention to pest control than spring-grown cauliflower. Honestly, I haven't picked one cabbage worm off of the cauliflower, but I know from experience with spring school gardens that you must be vigilant in warmer weather. Hand picking worms is the best organic method of control. (And kids love the challenge of finding the creepy critters.)

Companion planting can also assist in controlling pests that enjoy cauliflower. For instance, celery planted along with cauliflower deters white cabbage butterfly and cabbage worms. Aromatic herbs planted near the bed can improve the health and flavor of cauliflower and deters white cabbage worm by repelling egg-laying butterflies. However, please NOTE: Mint can be very invasive! Plant mint in a container and place near the cauliflower.

Additionally, the following herbs also benefit the health of cauliflower and other brassicas:

Oregano: Repels cabbage butterfly.
Rosemary: Deters cabbage moth.
Sage: Repels cabbage flies, black flea beetle, cabbage looper, cabbage maggot.
Thyme: Deters cabbage worm, white fly.
Wormwood: Repels animals in the garden when used as a border. Repels moths, flea beetles, and cabbageworm butterfly.
Harvest.
Harvest 60 to 70 days after planting transplants, when head is fully developed and before curds begin to separate. Leave a ruffle of leaves surrounding the head when harvesting to prolong freshness and quality. Store in the refrigerator.
Eat.
Soak cauliflower in cold water with a bit of salt and vinegar to flush out any aphids. For quick cooking, separate the head into florets.

Cauliflower can be eaten raw, steamed, stir fried, or in soup.

We tend to simply steam cauliflower or eat it raw. But homegrown cauliflower really deserves more attention, perhaps a celebratory soup for your success in growing cauliflower!

French Cream of Cauliflower Soup
From Chez Panisse Vegetables by Alice Waters
Serves 4 to 6

Ingredients:
  • 1 large cauliflower head (2 to 3 pounds)
  • 1 onion
  • 2 tablespoons unsalted butter
  • 4 tablespoons créme fraîche
  • Salt
  • Nutmeg
  • Chervil
  1. Cut off the stem of the cauliflower and any green leaves. Break up the head into florets. Wash them in cold water and reserve a few florets to garnish the soup.
  2. Peel and slice the onion thin. In a soup pot, stew the onion slices and the florets in the butter with a little water for 15 minutes, stirring occasionally, without letting them brown. Add water to cover and cook for 25 minutes, covered, over medium heat. Meanwhile, parboil the reserved florets in boiling salted water for 8 minutes or so, keeping them crunchy.
  3. Purée the soup in a blender and reheat gently to just under boiling. Add the créme fraîche and season with salt and nutmeg to taste. Serve the soup very hot, garnished with the whole florets and a few springs of chervil.
As you sip your delicious soup, aren't you glad that you grew cauliflower?

On the 4th of each month, visit You Can Grow That! to discover what other garden bloggers are growing.

Happy winter gardening!

XO ~

Julie


Tuesday, December 4, 2012

Dreaming of Spring...You Can Grow That.

While most of America scours sale flyers and races to malls in search of perfect holiday gifts, we gardeners anxiously await bargains of a different kind.


The end of season bulb sales.


It starts slowly with our favorite mail order nurseries. E-mails entice us, offering 20 percent off...30 percent...40 percent...sold! And because some overzealous gardener ordered thousands of sale bulbs last year...and then spent weeks planting them in the midst of the holiday season, restraint is in order. Just a few. 

A handful of species tulips...

...some snowdrops for the forest path...

...maybe a box of tulips to plant as a cutting garden. Oh, and a few species lilies to try, plus of course a few extra Casa Blancas. After all, Casa Blancas featured in my long ago wedding bouquet.

A girl can never have too many Casa Blancas.


Oh, wait. Let's not forget the important bulbs. Paperwhites to force for teacher gifts, and a few new amaryllis bulbs to sample...but only a few, because they're not on sale.
Not bad. In fact, when the shipment arrives, it's only one, medium-sized box. I congratulate myself on my restraint.

But then--disaster.

A quick trip to a big box store for a small potted evergreen requires a stroll through the garden center...

...where there are bulbs. Boxes and boxes of bulbs.


And they're 75% off.


I know what you're thinking. You're right.

I have no willpower.

Still, I challenge any gardener to pass up 75% discounted bluebells and tulips.

You know you can't.

(Right now, my husband is rolling his eyes as he reads this in Switzerland, where he's visiting his parents for the week. Because he's in Switzerland and I'm home with the kids, I feel completely justified in my purchase.) 265 bulbs for--wait for it--
$17.94.

I promise you, my friends, these are not disease infested, moldy, shriveled up bulbs. They're plump, lush, and filled with potential. Yes, they're a little smaller than my mail order beauties, but they'll do just fine.

Most of my purchases will find homes in the perennial beds, but a few varieties that are more shade tolerant and deer resistant will be incorporated into the forest paths. Plus, a few will remain indoors for a bit of color during the gloomy winter days.

Bulbs are brilliantly easy: dig a hole the depth according to the directions on the package. A good rule of thumb is to dig a hole to a depth of approximately three times the height of the bulb. Then plant the bulb pointy side up.

Simple.

Over the years, I've learned a few things that can help make your bulb planting easier and more successful.

Plant in clusters.

By grouping bulbs, you'll make a more dramatic show in your garden—and you can dig one very large hole for many bulbs as opposed to lots of time-consuming individual holes. Who doesn't like to save time and create a better design impact? 

Plant in layers.

If you purchased several varieties of bulbs that bloom at different times, such as crocus and tulips, dig a large, deep hole. Plant the tulip bulbs first, as they require additional depth. Partially backfill soil into the hole, then plant a layer of the smaller crocus bulbs. Fill in the remainder of the hole with soil. You'll have a lovely, continuous display of blooms throughout the spring.

If you have a choice in sale bulbs, choose varieties that flower in intervals. Tulips, for instance, include early, mid, and late-flowering varieties. Select some from each group for continuous blooms. 

Don't make bulb soup.

Good drainage is a must. Otherwise, all of your efforts will simply rot away. 

Beware the nasty vole.

The vole is my nemesis. Garden cats tend to help alleviate the problem...unless they turn into spoiled, overfed, lazy fluff balls like our Sammy and Oreo. We love them, but the kids feed them too many treats for them to be inspired to hunt. Voles will devour your tulips and snack on your lilies.

It's infuriating.

Don't bother with vole-repellant products. I've tried all organic remedies, and honestly—the bobcat urine was like adding salad dressing to the hostas. I'm sure the poison bombs probably work—but they're not happening in our gardens.

What I have found, though, is that a little extra prep work when planting can help alleviate some of the vole destruction.

Apparently, voles don't like to cross anything sharp in the soil. After you've dug your holes for your bulbs, line the bottom and sides of the hole with a layer of sharp gravel or perlite. Place a bit of soil on top, then add your bulbs and cover with soil.

I've succeeded in saving bulbs from becoming vole midnight snacks by using the gravel. It's worth the extra effort and small expense. Trust me.

After all, you know you're going shopping tomorrow so you can pick up some stunning Star of Persia Allium or Checkered Lily Fritillaria, and maybe some Ice Follies daffodils or a few Lady Jane species tulips.

All for 75% off. You know you can grow that!

Just wait. Your garden will be bursting with color next spring.

For more gardening how-to, check out these fabulous ideas from garden bloggers every 4th day of the month at You Can Grow That! 

Happy planting!

XO ~

Julie


Monday, December 3, 2012

Tarnished Angel.


It's been a crazy few days, celebrating hubby's very significant birthday on Friday followed by a mad dash Saturday to deck the halls before he left for a week in Switzerland. Today, when I should have been writing, I attempted to restore order to the house. Really, the Christmas decorations seem to breed each year, and I wind up with a pile of odd Santas and candles that have no home. 

Also, can someone please explain to me why every year I must make no fewer than two trips to Target in the midst of decorating to replace lights? 

Honestly, nonworking lights turn me into the Grinch. Normally, Peter claims that title. There's nothing festive about half-lit strands of lights that need to be removed from wreaths or garland and replaced with new lights that must be woven throughout the greenery. 

Grinch, Grinch, Grinch.

After much non-festive muttering and worse, I'm afraid, the outside lights are up and working, the tree is dripping in LED colored lights that make our living room look like a disco, and every branch of the 9.5 foot behemoth Fraiser Fir droops with treasures. 

We don't do decorator trees. Our tree is filled with handmade ornaments: clothespin reindeer and painted puzzle-piece toddler ornaments. Bells from Switzerland. Sparkly glass balls from vacations. Tacky, "back of the tree" ornaments. Ornaments showcasing each child's passion--music, Star Wars, horses, chickens, Madeline, Barney. Sailing ornaments for Peter, a tomato ornament for Garden Delights. Photos of a baby that is now a 21-year-old adult. And, like the ornament that occupied the place of honor on my family's tree as we grew up, a teapot resides just below the star. Our glass teapot ornament is everyone's favorite.

Our ornaments evoke memories, each one with a story to tell. I received the brass angel (above) when I was in second grade from my (now former) sister-in-law. Somehow, this little engraved angel meant the world to me--possibly because, being much younger than my siblings, I felt invisible. My sister-in-law talked to me like an adult, showing genuine interest in my crazy passions. I rarely saw her without a book in her hands, and she encouraged my book obsession. That same Christmas, she gave me The Secret Garden. Honestly, how could I not adore her? 

Life happens, people change. I saw her a few times after the divorce, but she remarried and we lost touch. It's one of my great regrets. I would love to know her now, as my adult self.

But every year, when I unwrap the little angel, I think of her. It's the one ornament that I insist only I can hang on the tree.

It's tarnished now, a little rusty along the back, aged like its owner.

But in the dark, reflecting the disco lights, it shines with possibilities.

It will never be banished to the back of the tree.

XO ~

Julie


Sunday, December 2, 2012

Happy December to You!


Happy December to you! Chicken Mama is busy, dressing her girls in their holiday finery, and I'm tackling the leftover mess of yesterday's marathon decorating session. Still, in the craziness that is December, I'm planning to play along with the December Photo Project. 
 
We'll see how it goes...want to play along, too? Just visit this link to sign up. From what I gather, there are no rules--just take a few moments each day to regroup and play with your camera. We all need a little creative diversion this month, don't you think?

Happy Sunday! 

XO ~

Julie

DPP Banner 500 x 360


Thursday, November 29, 2012

Chicks Go Christmas Shopping.


Why did the chicken cross the road? Why, to find some bargains, of course! Wouldn't you?

There's nothing more humbling than a Saturday morning knock on the door while you're caught lazing around in your PJs. Actually, it's most humbling when it's your next-door neighbor at the door, announcing that your chickens crashed her yard sale.

What can I say? I'm sure the girls just wanted a jump on their holiday shopping. 

After all, they need the perfect gift for Chicken Mama.

(Full disclosure: I hid, forcing Peter to answer the door. Yes, I'm that cowardly.)

Fortunately, our neighbor was gracious about the chicken invasion. Still, this wasn't the first time the girls flew the coop. In fact, our three little additions—Saltine, Sugar, and Spice—escape our yard frequently. Apparently, the dozen books Kiki read failed to mention that Golden Campines are flighty.

Very, very flighty. In fact, they would win gold medals for flying in the Chicken Olympics.

(In her defense, Saltine is a Barred Plymouth Rock, and she's not quite as flighty as the Campines. She just follows the lead of the two troublemakers.)

Flighty is both good and bad. Obviously, we don't want the girls bothering the neighbors. We allow them to free range in the forest—with supervision. When we can't supervise, they forage in fenced areas--around the pool or in their yard. However, while the older girls politely remain within our boundaries, the little delinquents take to heart “the grass is always greener” philosophy, escaping the fence.

Of course, when they escape the fence, not only do they potentially annoy the neighbors, but they also embark on suicide missions.

On one side of our backyard, where the naughty girls like to forage, our sweet dogs would happily use them as chew toys. So, when we let the girls forage by the pool, we keep the dogs inside. Outside the fence, the girls become potential snacks for roaming neighborhood dogs.

It's quite an adventure for a suburban dog. When another neighbor's dog rejoiced over his breakout, he hightailed it to our forest. After all, it was doggie paradise--three fluffy, yummy smelling treats to chase.

Panic.

While we tried to catch the pup, our flighty girls used their wings wisely—Sugar escaped to the roof of our house, Saltine flew back over the fence.

We couldn't find Spice.

We looked everywhere—the forest, neighbors' yards, the coop, the greenhouses.

No Spice.

After 15 minutes, I expected the worst. The dog still ran through the neighborhood, and I feared that Spice became his prize.

I stopped to catch my breath and looked up.

There, sitting on a tree branch peering down at me, perched Spice.

Whew.

(Did I mention—all of this fun took place in my pajamas? I did manage to throw on running shoes. Now, there's a fashion statement. Hmmm...there seems to be a theme here. Perhaps I need to stop lazing around in my PJs, huh?)

After the near death experience—both for the birds, as well as my near heart attack—we decided it was time to convince Chicken Mama to let us clip her girls' wings.

It didn't take much convincing.

After all, she decided she'd rather keep her girls safe than win more blue ribbons at the county fair. 


I'm very proud of our Chicken Mama.

That afternoon, we gathered the troublesome trio in the back garden to perform the deed.

Actually, I did nothing but take photos. I'm a wimp.

It's really a very easy process, and it doesn't hurt the bird. Basically, you clip approximately 10 of the primary flight feathers on one wing. By clipping feathers on only one wing, the chicken's balance is disturbed, prohibiting flight. Experts recommend waiting until the chicken reaches maturity, because wing flapping and practice flights develop strength in young chicks.


When selecting which feathers to snip, make certain you don't select any new growth feathers that contain blood in the shaft. (The shaft will have a pink tint if it contains blood.) Clipping a wing with blood in the shaft is painful for the bird and causes bleeding. In darker colored birds, you may need to hold the wing to a light to check the shaft. If you do accidentally cause bleeding, dip the tip of the feather in cornstarch and pinch it to stop the bleeding. Also, keep the bird separate from the flock until the wing heals. Blood or injuries encourages pecking.


Wing clipping is a two person task. Kiki held the girls to calm them. Because you need to use sharp scissors, you don't want to try this alone. You don't want to hurt yourself or the bird.


Spread one wing, holding it steadily. Peter cut approximately 10 of the longer primary flight feathers.


And that was it. Simple. Safe. And hopefully, the birds are now secured within the yard.

Then, Kiki, our future veterinarian, wanted to try it.

Easy.


Honestly, how is this girl my daughter? She amazes me.

Just in case you like diagrams, there's a good one here:

An important note: 
Repeat wing clipping after your chicken molts. Once the new feathers grow in, those naughty girls will head for the skies again.


So, while Chicken Mama is now retired from the world of chicken shows, we're all resting a bit easier about our troublesome trio.

So far, they haven't flown the coop.

But then again, there haven't been any yard sales lately.

Wish us luck!

XO ~

Julie

Thursday, November 15, 2012

Barely Blooming...Garden Bloggers' Bloom Day November 2012.

Happy Garden Bloggers' Bloom Day! Finding blooms in our garden posed quite a challenge this month, as we've officially welcomed fall with not one--but two frosts in our zone 7b garden.

Still, while most of the plants sustained quite some frost damage, a few trusty blooms hid from the cold.


'Rozanne' geranium, lurking under the overgrown lantana, survived the frost and continues a profusion of cheerful blue blooms. Thank goodness for this lovely little perennial. It's disappointing in the summer, succumbing to the heat, but boy--it works hard in the fall to liven up the garden.


Most of the lantana blooms disappeared, but a few blooms remained on the lower, hidden-from-frost portion of the plants. They look tired, though, having worked hard to feed butterflies and hummingbirds all summer and fall. They deserve a rest.


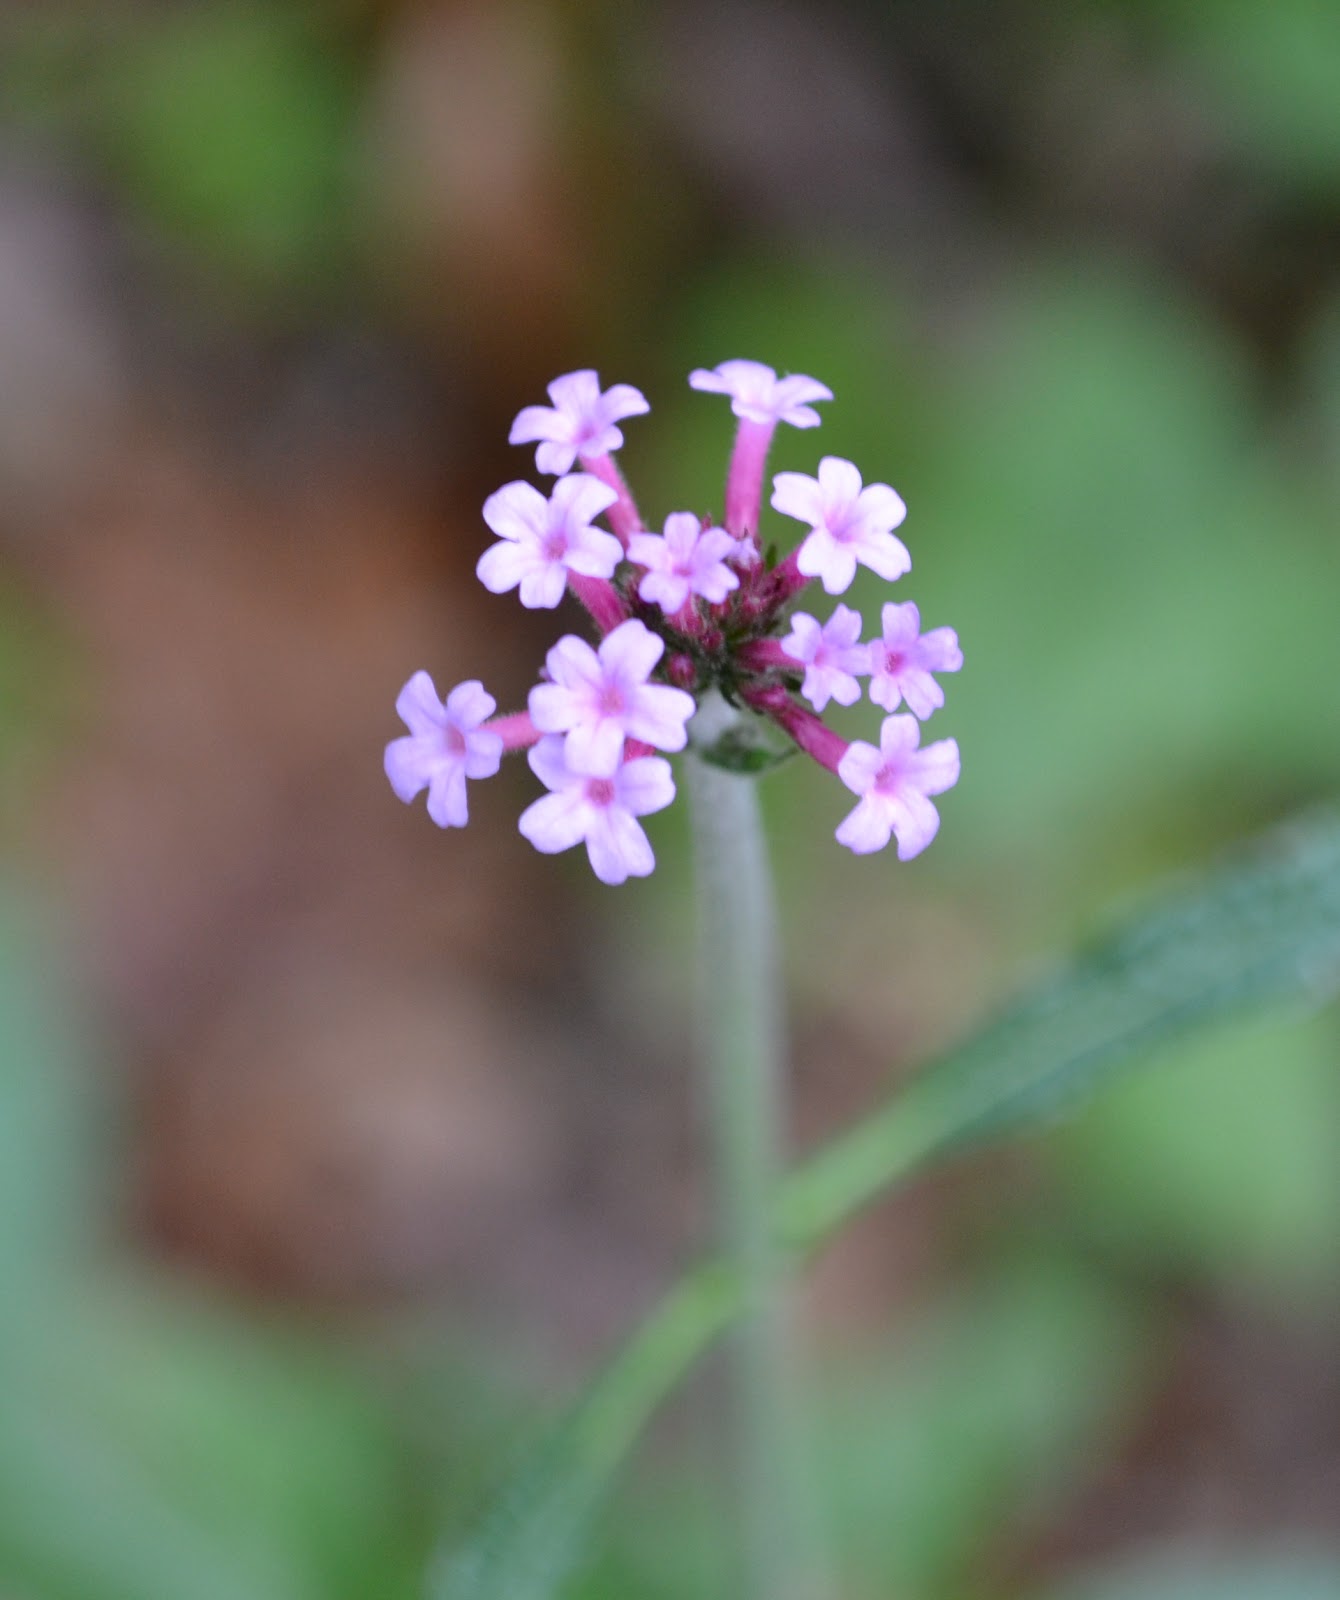
A few blooms remain on the tall verbena...


...as well as the Mexican sage. Newly planted in the garden, I'm anxious to see how the sage performs next year. So far, it's been a stunning addition to the fall garden.


Here I go again...my love affair with fraise des bois is well noted. Still blooming, still producing fruit. I won't bore you with my continued ravings...


Even a bit of gaura remains in the garden. A few whirling butterflies, ready to tuck their wings in for the season.


Ah, but the camellias...I'm becoming obsessed with camellias. Honestly, I wish I had planted dozens of camellias throughout the garden. I also wish I had noted the varieties I planted years ago. Keeping records of ornamentals was not my forté when I began gardening long ago.


A few sprigs of 'Provence' lavender fight the cold, willing one more flush of blooms. I fear they're losing this battle. 


What the heck is happening here? An azalea bloom appeared in the front garden. This is not an Encore azalea. These bushes only bloom in the spring. 

Well, usually.


Of course, the azaleas might be confused by the flush of blossoms on our daughter's cherry "birthday" tree. It blooms both spring and fall. In hindsight, I wish we had planted a normal, spring-only blooming cherry tree. Cherry blossoms in fall are just...bizarre.
 

'Blushing Bride' hydrangea looks like a tired old housewife these days...


...but the viburnum--wow! The huge, lacy blooms apparently enjoy the chill.


I'm thrilled about the newly planted witchhazel. I've been coveting it for awhile, and when I found it at a local plant sale, it followed me home. I'm so excited, I'm about to burst--just like these buds.


Now, this Encore azalea is supposed to bloom now.  Sadly, most of the blooms succumbed to frost.


The tiny blue blooms of rosemary are rare in our garden, as we don't have much sun to encourage flowering. I'm always envious of the bloom-filled, enormous rosemary bushes I see in sun-rich gardens. Still, I love rosemary regardless of its lack of prolific blooms. It's truly my favorite herb.


We've been harvesting sweet peas for a few weeks, thanks to a fall planting and some low tunnels to protect the kitchen garden from frost. With the abundant blooms, I'm hoping we'll be eating peas for quite awhile.


In the herb garden, the mint is the last bloom standing...


In the back garden by the pool, the tea olives' tiny blooms appeared.


And soon, soon, my favorite winter bloom will appear--Winter Daphne. Just a little bit longer until its sweet scent welcomes visitors at our door.


While most of the perennials only sport seed pods... 


...a few fall annuals remain. I've never been a fan of mums, but these mounds of cheerful yellow flowers found homes in wicker pumpkin shaped baskets.  


But pansies and violas will forever be some of my favorite flowers.  

As you know, I often curse our overly shady garden. But then, fall arrives...


...and from every window, the intense colors of the forest remind me to be grateful for our shady gardens.


Happy Garden Bloggers' Bloom Day! To visit more autumn gardens, please visit May Dreams Gardens.

XO ~

Julie